How the follow-up interview works and tips for getting great results.
After your recording or upload is processed, the AI interviewer reviews everything and asks targeted follow-up questions. This is where the platform captures the context that makes your documentation valuable — the decision logic, edge cases, roles involved, and business reasons behind each step.
How It Works
1
Open the interview. Click "Continue Interview" from the email notification, or navigate to your session in Scout.
2
Review the AI summary. The interviewer will summarize what it understood from your recording and ask its first question.
3
Answer the questions. Respond via text or voice input (click the microphone icon). The AI will work through approximately 8 categories: start & end conditions, main actions, decisions, exceptions, people & roles, systems & tools, inputs & outputs, and timing.
4
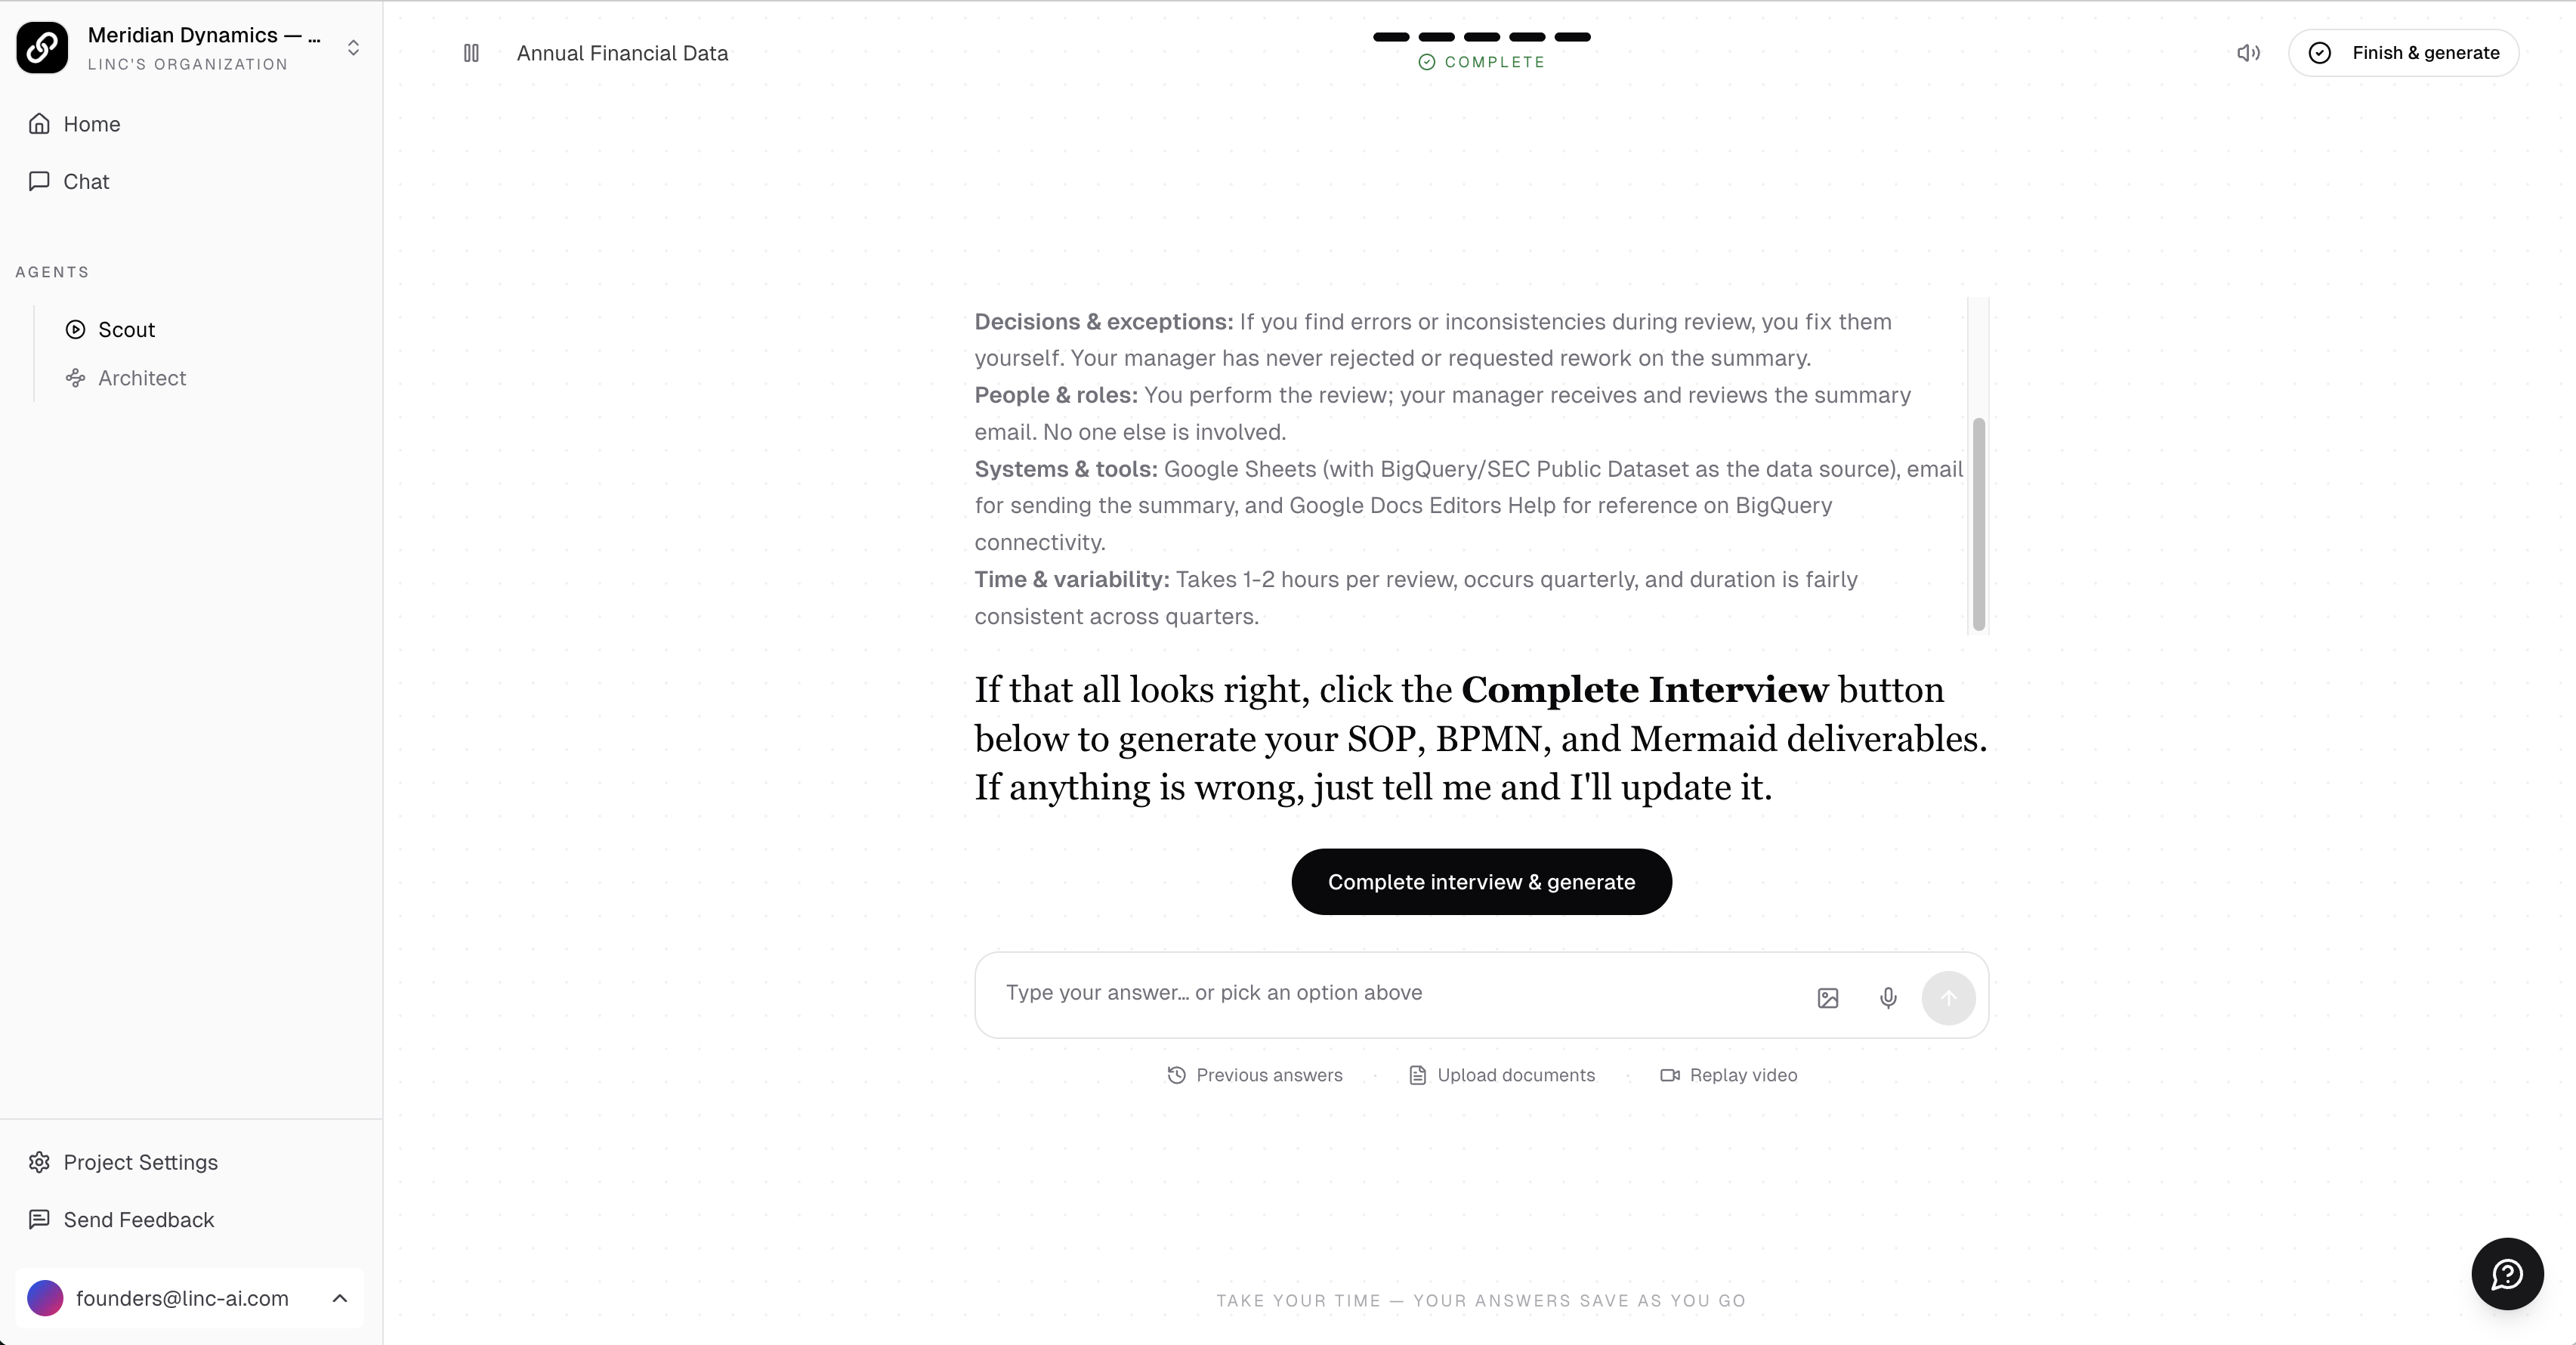
Track progress. A progress bar at the top of the interview shows which category the AI is currently exploring. The categories are represented as dots — filled dots are complete, and the current category name is displayed below (e.g., "Decisions & Exceptions").
Category progress dots showing completed and remaining interview topics.
The interview view with the AI summary, category progress at top, session replay on the right, and input options at the bottom.
Tips for a Great Interview
Be thorough. The more context you provide, the better your SOP will be. Mention edge cases, workarounds, and informal steps you normally take.
Use voice mode or answer by voice if typing feels slow — see the sections below for both options.
You can redirect the AI. If a question is not relevant, just tell it to skip and move on. The interview is conversational.
Upload additional documents during the interview if the AI asks about something you have written documentation for.
Do not leave without completing. The deliverables will not generate until you explicitly finish the interview (see next page).
Voice Mode
Voice mode enables a real-time, conversational audio experience with the AI interviewer — similar to voice mode in ChatGPT or Claude. You speak naturally, and the AI responds with audio. You can interrupt, ask clarifying questions, and have a fluid back-and-forth conversation without typing.
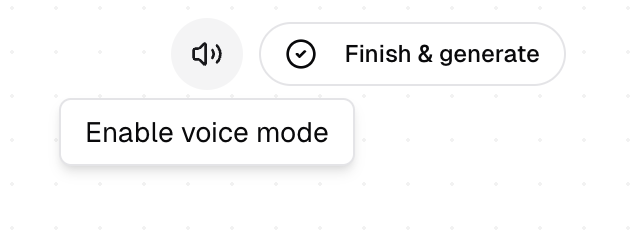
The voice mode toggle (speaker icon) and Finish & generate button in the top-right corner.
1
Click the speaker icon in the top-right corner of the interview header to enable voice mode.
Hover over the speaker icon to see the "Enable voice mode" tooltip.
2
Once enabled, speak naturally. The AI will listen, respond with audio, and continue the interview conversationally. You can interrupt at any time.
3
Click the speaker icon again to disable voice mode and return to text-based input.
Tip
Voice mode is ideal when you want to explain complex workflows quickly without typing. It works best in a quiet environment with a good microphone.
Answer by Voice
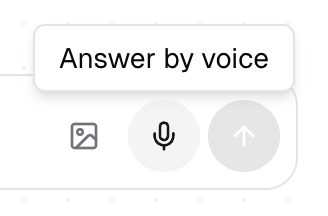
If you prefer to stay in text mode but want to dictate individual answers, use the microphone button in the message input area. This records your spoken answer, transcribes it to text, and sends it as a regular message.
The microphone button in the input bar lets you record and transcribe a voice response.
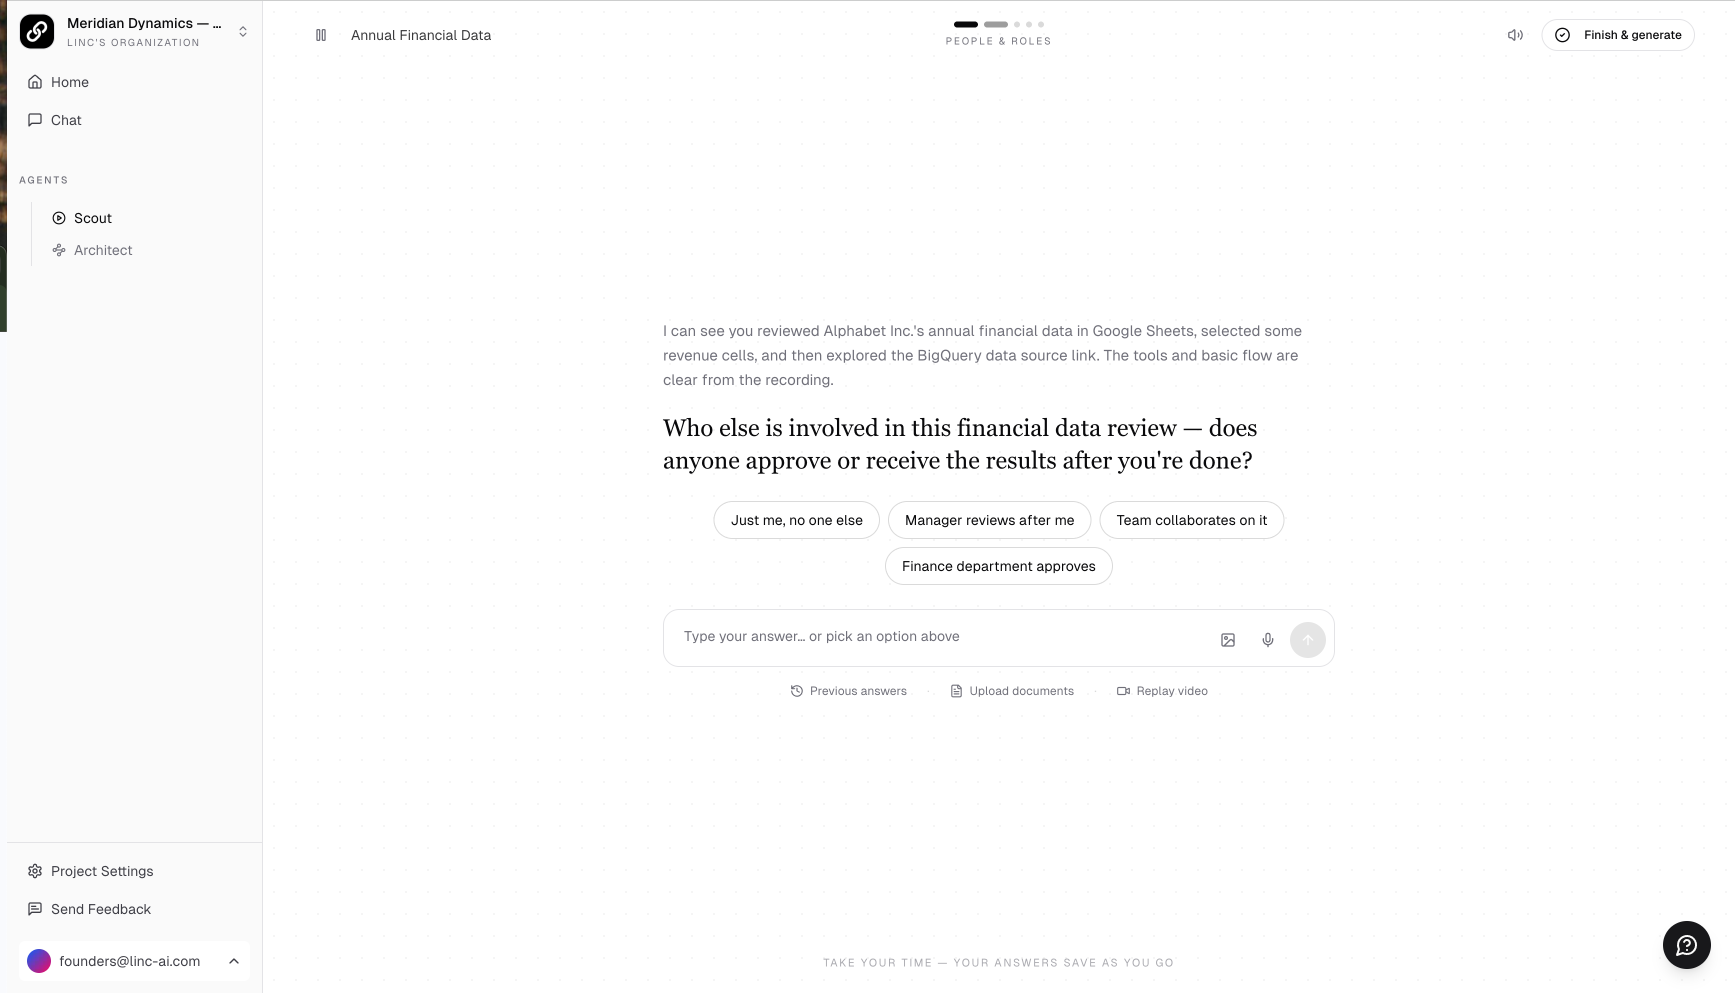
The full interview view showing the conversation, voice and finish controls in the header, and input options at the bottom.
Tip
If the video was long, the AI may reference specific timestamps in its questions. Click the highlighted timestamps to jump to that moment in the session replay and verify what the AI is referring to.