Interview Planner
Plan which workflows to capture and who to invite before you send Scout sessions.
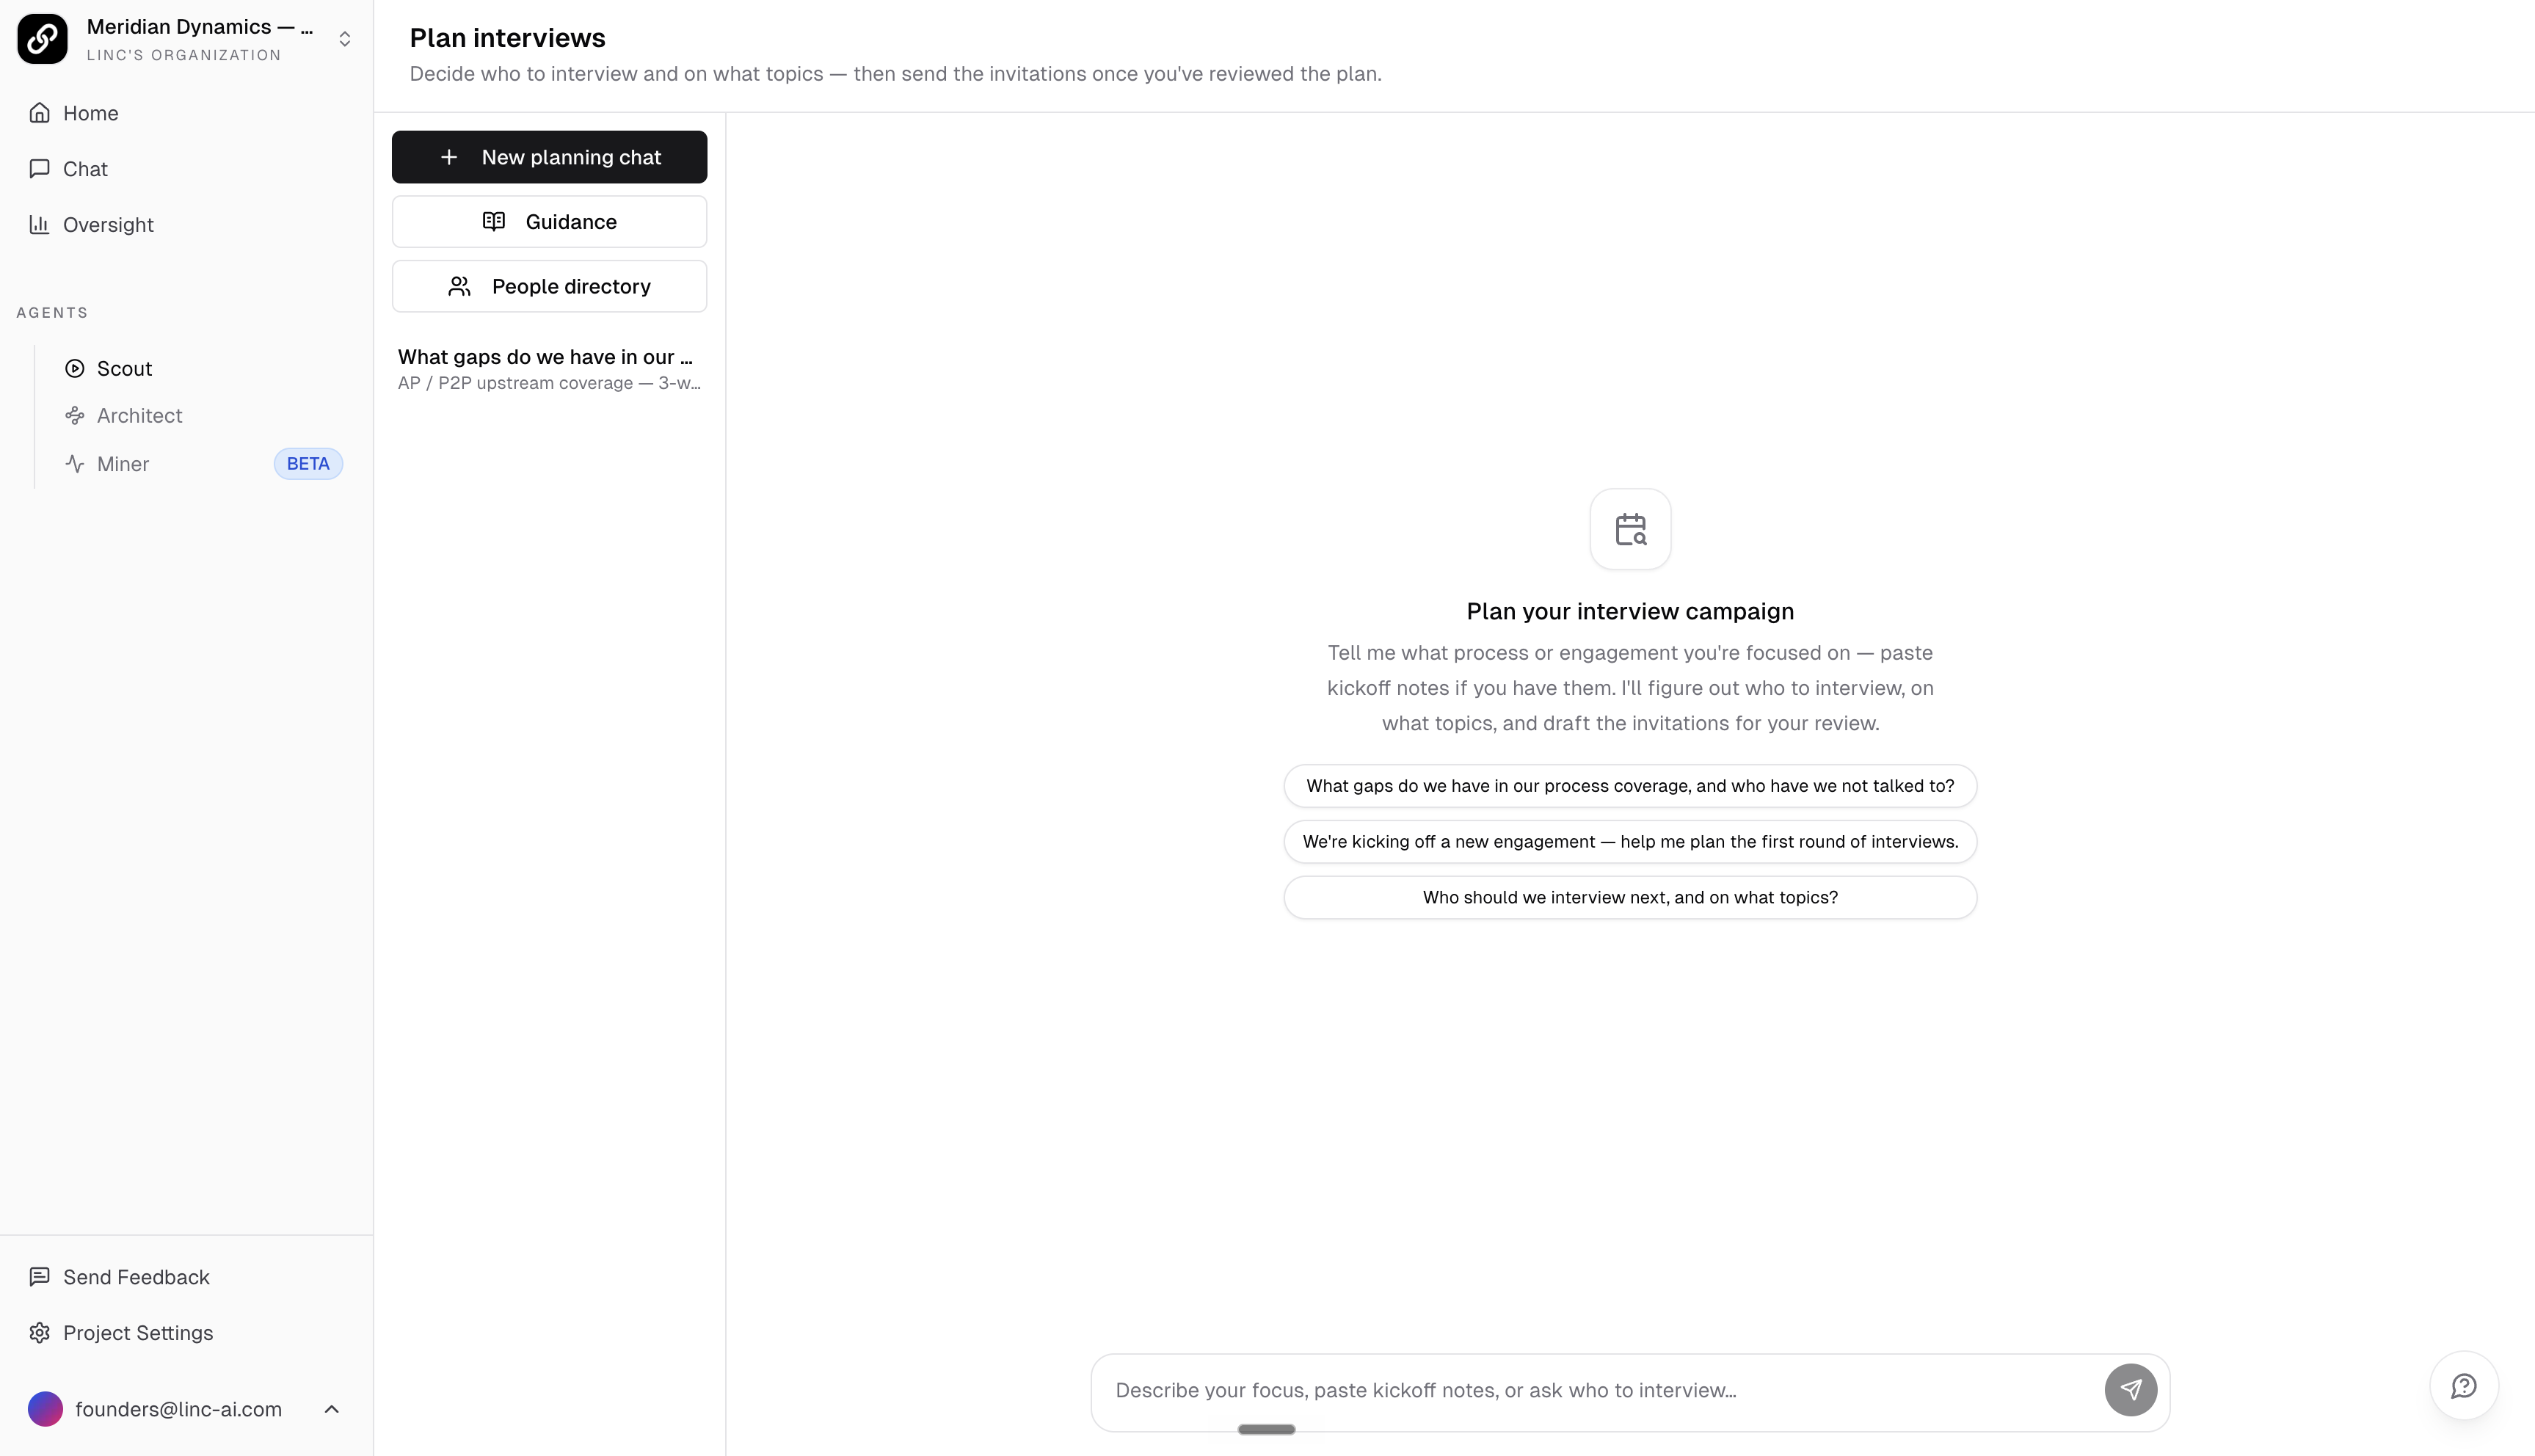
The Interview Planner is a chat-based agent that helps you scope an engagement before any recordings go out. You describe what process or department you want to understand, and it proposes a slate of people to interview, the workflow each should document, and the topics the AI interviewer should probe. It is built for transformation leads and admins who are kicking off a project and need to decide where to point Scout.
Opening the Planner
Sending invitations requires the invite permission, and adding people who are not yet in the project requires organization-management permission. If you only have the invite permission, you can still plan and send to existing project members.
Describing Your Goals
The planner works like a conversation. Tell it, in plain language, what the engagement is about and what you want out of it. The more context you give, the better the first draft.
The planner grounds its picks in your actual project. It checks your departments and process categories, who has already been interviewed, gaps surfaced by Architect, and the people directory, so it can suggest real, un-interviewed people and explain why it chose each one. On a brand-new project with no data yet, it proposes a role-based slate (the functions that touch the process end to end) and leaves names blank for you to fill in.
Reviewing the Proposed Plan
When the planner drafts a plan, a plan card appears in the chat. This card is the review surface, and proposing is not sending. Nothing goes out until you press send.
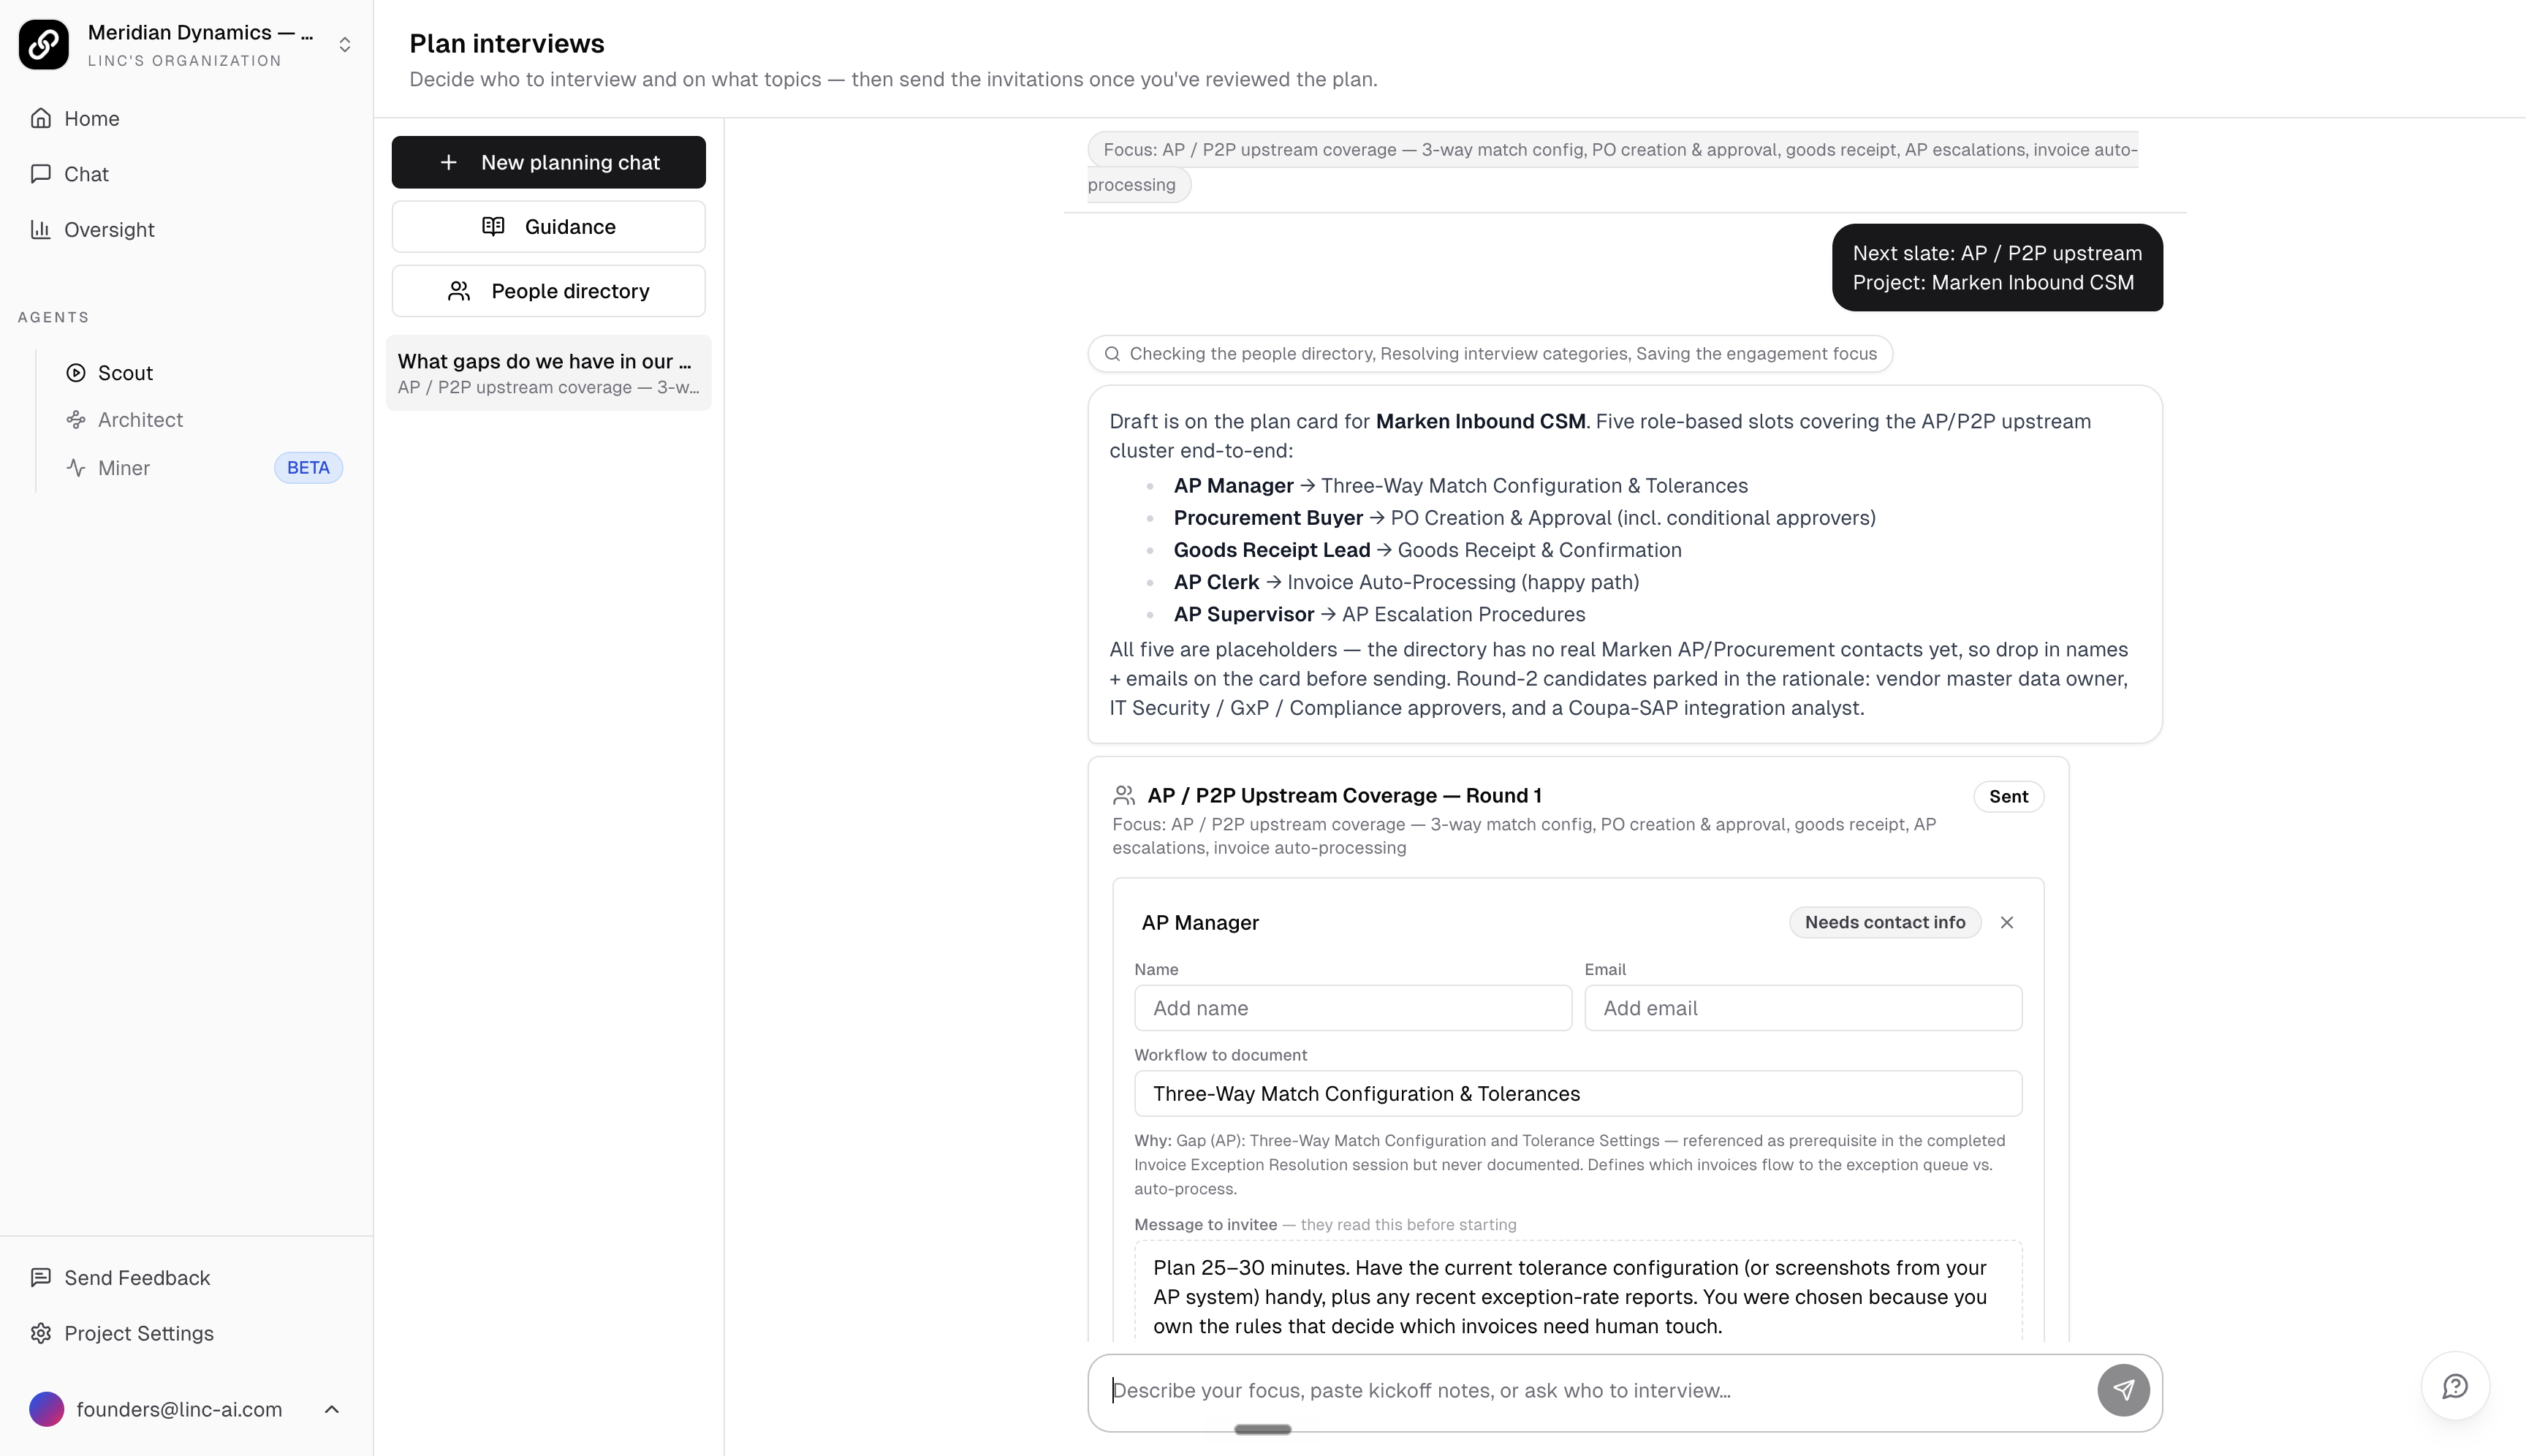
Each invitee on the card is fully editable, with changes saved automatically as you type. Per person you can review and adjust:
- Name and email — Start typing a name to search your people directory and fill in their email and department in one click, or enter someone new.
- Workflow to document — The specific process this person will be recorded walking through.
- What to ask and Interview topics — The context and category set the AI interviewer will probe. Add a topic, or describe a refocus in plain language and the planner rewrites the topic set.
- Message to invitee — The short note the person reads before they start, such as how long to plan for and what to have open.
- Notes — Assumptions to confirm and reminders for you, kept separate from the grounded rationale.
A status pill on each row shows what will happen on send: Ready for existing project members, Will add to project for people already in your organization, Needs signup for external emails, and Needs contact info for role-only placeholders. You can remove anyone, and you can copy a plan summary to share for sponsor sign-off before sending.
Sending the Invitations
Once the plan looks right, turn it into real Scout interview invitations from the same card.
Standing Guidance
Per-interview specifics live on the plan card, but durable preferences belong in your Guidance documents, reachable from the planner sidebar. When you state a standing rule ("always dig into compliance", "keep interviews under 30 minutes", "never contact the exec team directly"), the planner can save it into the guidance for the organization or a specific project, and future plans and interview topics follow it. The People directory, also in the sidebar, accumulates the names, roles, and notes the planner learns, so later rounds can pull in the right people faster.